Create a new Success Story Post
To create a new Success Story post:
- From the dashboard, select POSTS > ALL POSTS.
- Find any post that has SUCCESS STORIES listed in the category column.
- Mouse over the post title and click DUPLICATE THIS.
You have created a copy of the selected post that is unpublished and set to DRAFT mode. It will not be live on the site until you click PUBLISH.
The copy has all of the correct settings for a SUCCESS STORY post.
- Click the title of the draft post or mouse over the title and click the EDIT link.
- Change the title in the title field to your new Success Story title.
- In the main column of the post dialog window, update the content for your new project.
- You can ignore the two POST META fields (COMPANY CITY, STATE and COMPANY NAME) underneath the post content as they are not used in a Success Story post format.
- Add a short EXCERPT passage in the EXCERPT field. This is a short summary that will be displayed in a list of success stories, such as those at the bottom of the Success Stories landing page.
- In the right (narrow) sidebar column, update the CATEGORIES selector to make sure “Success Stories” is selected.
- Further down the sidebar column, update the FEATURED IMAGE dialog with a featured image for the Success Story. Just click the current image to go to the Media gallery and upload or select a new image. You can also click the REMOVE IMAGE link and then click the SET FEATURED IMAGE link that will appear after. Either way gets the same result.
- Once all your changes are made, click the blue PUBLISH button to publish your new Success Story post.
Manage the Success Story Trio on the Success Story landing page

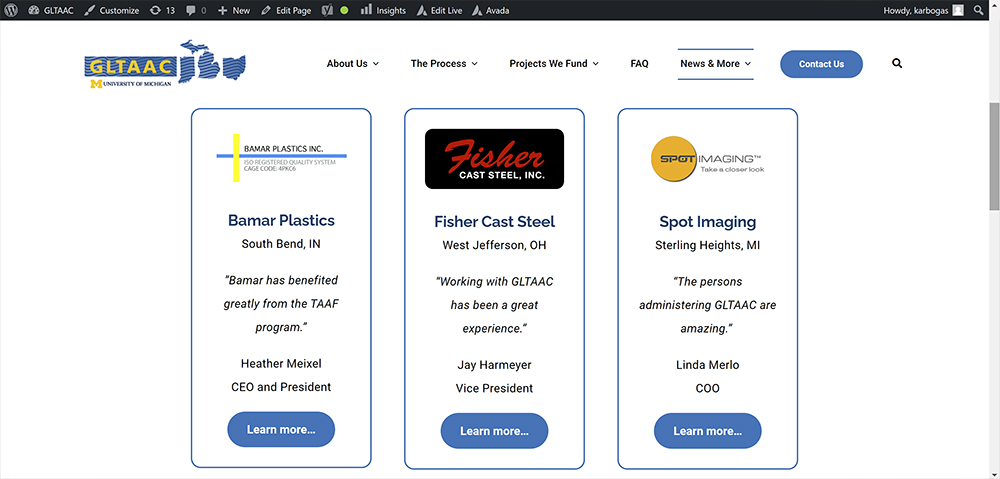
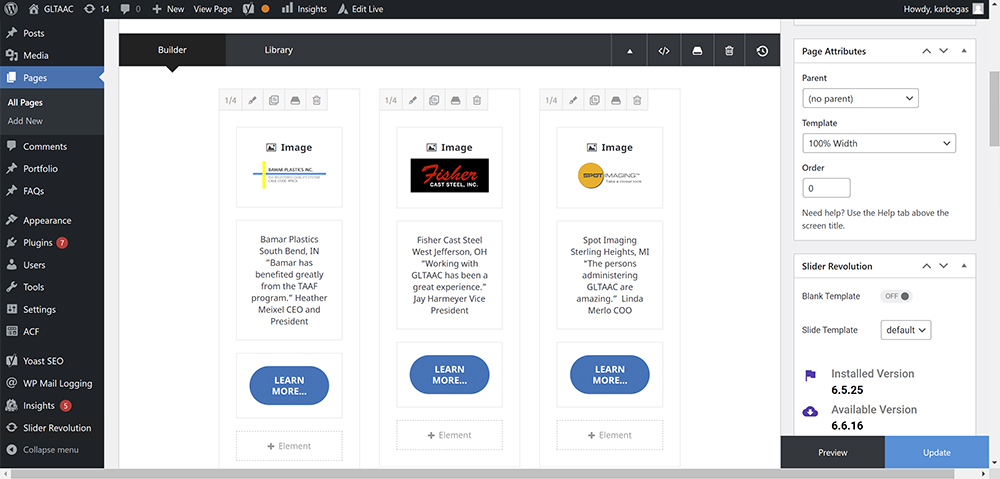
Three featured success stories occupy the top of the Success Story landing page. These are constructed as three sets of elements (logo image, text, and button) grouped in columns. To update to a new Success Story, merely replace/update the individual items.

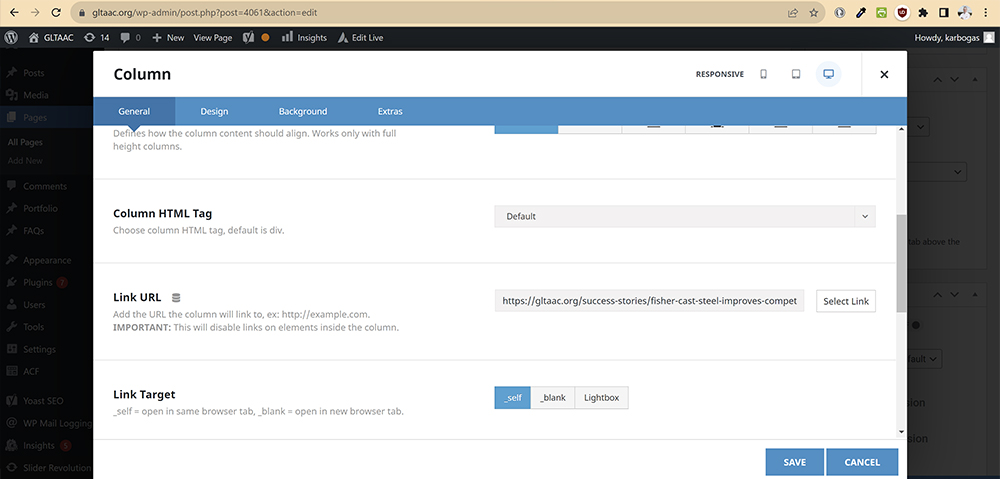
The link to the Success Story for that company is set on the column element so the user can click anywhere on the Success Story item to view that story.
- Click the column’s edit pen icon and scroll down on the GENERAL tab of the dialog window to find the LINK URL field (see below).
- Click the SELECT LINK button to search for the Success Story post and apply the link.
- Click the dialog’s SAVE button, and then the page’s UPDATE button when finished.


